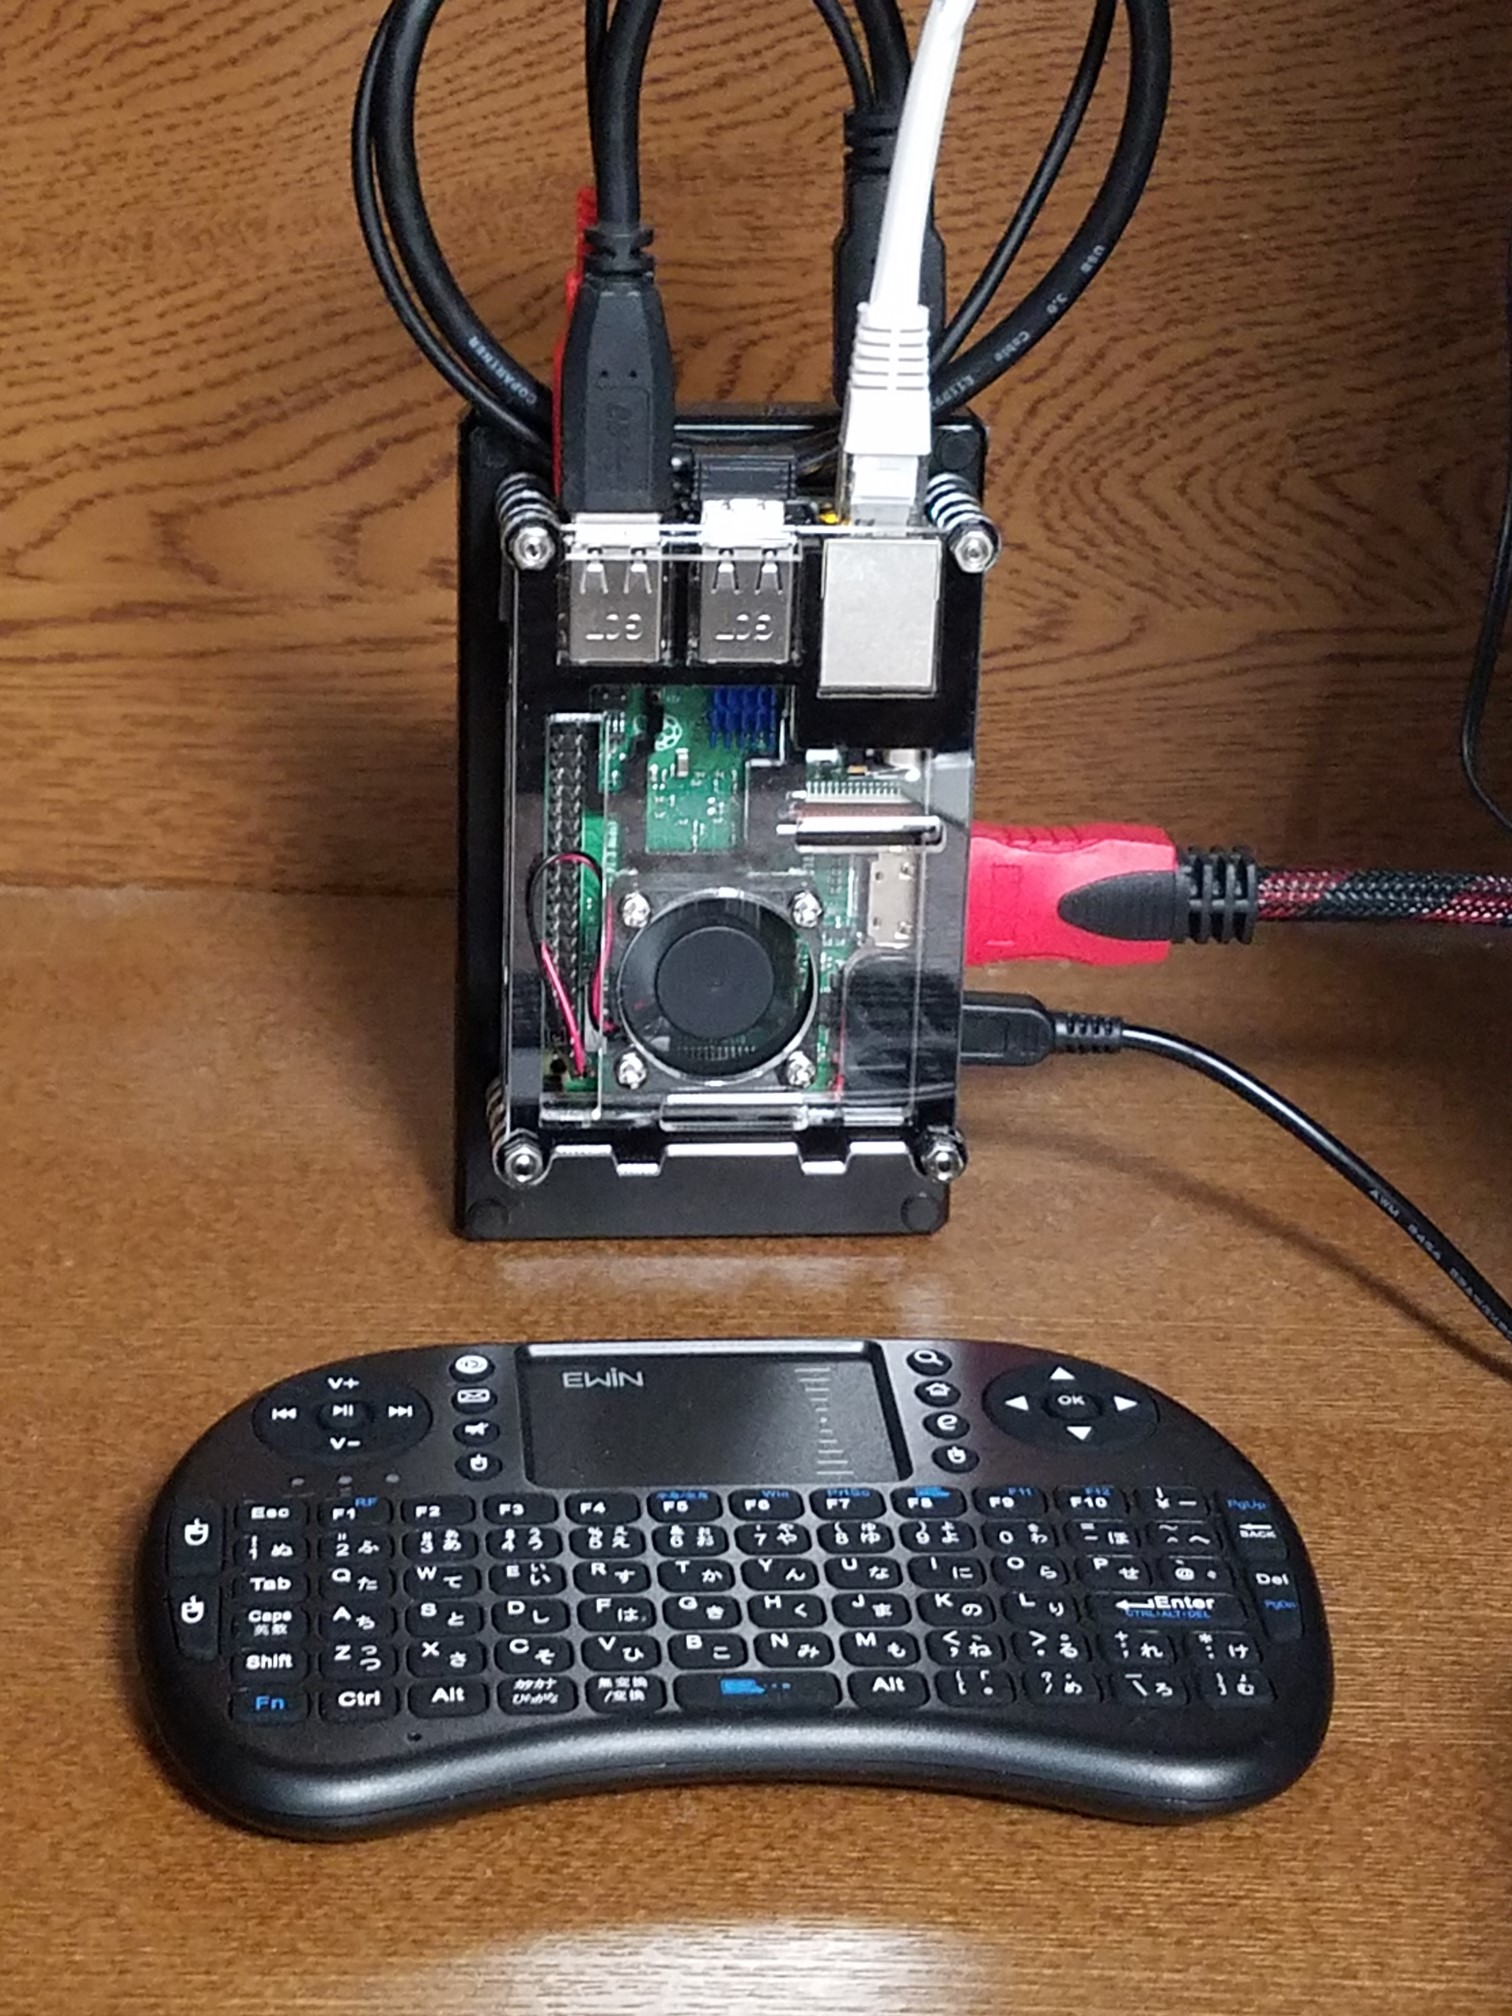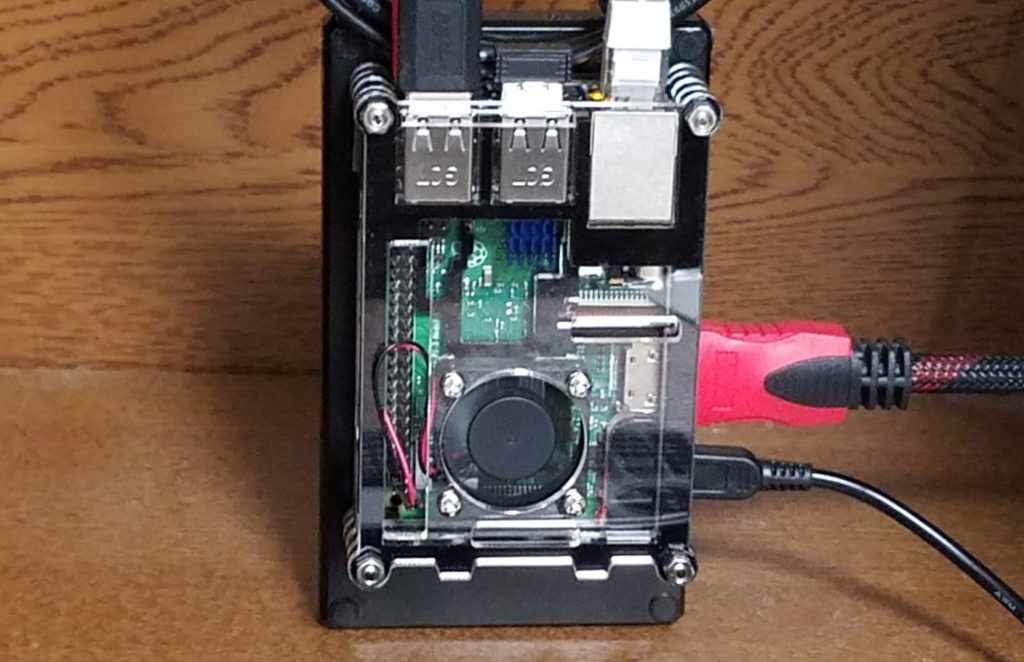
Raspberry pi 3 model B+ に入れたRaspbianに各種サーバーを入れる。その1
今回はRaspbuanを入れたraspberry pi 3+ を使ってWebサーバー等の各種サーバーを作って行く手順の記録です。
それには、このシリーズである初期設定編で書いてあるWindowsからターミナルソフトを使ってSSHで接続した環境でインストール作業をします。
1.ターミナルソフトを起動しSSHでログイン
初期設定編を参照
2.必要に応じてパッケージのアップデートをする
$ sudo apt-get update
$ sudo apt-get upgrade
3.apache2を入れる
$ sudo apt-get install apache2
これでインストールします。
バージョン情報の表示は
$ apache2 -v
起動は
$ sudo service apache2 start
停止は
sudo service apache2 stop
再起動は
$ sudo service apache2 restart
設定ファイルは
/etc/apache2
ディレクトリにありますので必要なファイルを書き換えて設定します。
特に必要な書き換えは
sudo vi /etc/apache2/conf-available/security.conf
を開いて
#ServerSignature Off
ServerSignature On
という記述を探し
上の列の#を消し下の列に#を付けて保存します。
offでWEB サーバーのエラー情報が画面に表示しないようになります。
次にApache のデフォルトページを削除します。
方法はデフォルトページのあるホルダのファイルを消すか
デフォルトのフォルダを変更する。
ホームページのあるフォルダは以下に記載されているので開きます。
sudo vi /etc/apache2/sites-available/000-default.conf
以下が書いてある行を探して確認
DocumentRoot /var/www/html
ここ/var/www/htmlがデフォルトのページの場所です。
そのフォルダにあるファイルを後で削除しておきましょう。
またはDocumentRootの場所を変えておいてもよいでしょう。
次にこの場所のディレクティブ書いておきましょう。
DocumentRootの後の行に
<Directory /var/www/html/>
  Options FollowSymLinks
  AllowOverride All
  Require all granted
</Directory>
と追加記入しておくと良い。ディレクティブの内容は適宜変更する。
4.PHP7.0を入れる
$ sudo apt-get install php7.0 php7.0-cli php7.0-gd php7.0-mysqlnd php7.0-pgsql php7.0-mcrypt php7.0-dev
バージョン確認は
$ php -v
5.MySQLを入れる
最新のraspbian(Stretch)でMySQLをインストールするとMySQLではなく
mariadbが勝手にインストールされる。
それなので気にせずインストールをすすめることにする。
$ sudo apt-get install mysql-server
気にする人は上記の代わりに下記を実行して入れる。どちらも結果は変わらない。
$ sudo apt-get install mariadb-server
実行するとパスワード設定画面が表示されずにインストールが終了する。
試しにrootでMSQLを呼び出してみる。
$ sudo mysql -u root -p
当たり前だがERROR 1698 (28000): Access denied for user 'root'@'localhost'
とエラーが出るのを確認。
rootパスワードを設定する必要があるのでまずは
多分もうスタートされているはずだが、Mariadbを起動する。
$ sudo systemctl start mariadb.service
ちなみに再起動は
$ sudo systemctl restart mariadb.service
ちなみにMySQLとしての起動、再起動でも同じ。$ sudo systemctl start mysql$ sudo systemctl restart mysql
MySQLのrootパスワードの設定を開始する。
$ sudo /usr/bin/mysql_secure_installation
NOTE: RUNNING ALL PARTS OF THIS SCRIPT IS RECOMMENDED FOR ALL MariaDB
SERVERS IN PRODUCTION USE! PLEASE READ EACH STEP CAREFULLY!
In order to log into MariaDB to secure it, we’ll need the current
password for the root user. If you’ve just installed MariaDB, and
you haven’t set the root password yet, the password will be blank,
so you should just press enter here.
Enter current password for root (enter for none):
初期rootパスワードを入力(設定していないので空白のままEnter)
OK, successfully used password, moving on...
Setting the root password ensures that nobody can log into the MariaDBroot user without the proper authorisation.
rootのパスワードをセットするかどうか聞いてくるので Y入れる。
Set root password? [Y/n] Y
続いてrootのパスワードを新規で入れる。
New password:○○○○○○
同様にもう1回。
Re-enter new password: ○○○○○○
Password updated successfully!
Reloading privilege tables.. … Success!
By default, MariaDB comes with a database named ‘test’ that anyone can
access. This is also intended only for testing, and should be removed
before moving into a production environment.
Remove test database and access to it? [Y/n] Y
匿名ユーザを削除するかときいてくるので Y
Normally, root should only be allowed to connect from ‘localhost’. Thisensures that someone cannot guess at the root password from the network.
Disallow root login remotely? [Y/n] Y
rootによるリモートログインを許可しない設定にするので Y
… Success!
By default, MariaDB comes with a database named ‘test’ that anyone canaccess. This is also intended only for testing, and should be removedbefore moving into a production environment.
Remove test database and access to it? [Y/n] Y
テストデータベースと接続情報を削除するかを聞いてくるので Y
– Dropping test database…
… Success!
– Removing privileges on test database…
… Success!
Reloading the privilege tables will ensure that all changes made so farwill take effect immediately.
Reload privilege tables now? [Y/n] Y
上記設定を反映させるために特権テーブルをリロードするか Y
… Success!
Cleaning up…
All done! If you’ve completed all of the above steps, your MariaDBinstallation should now be secure.Thanks for using MariaDB!
MariaDBで再度ログインする。
$ sudo mariadb
Welcome to the MariaDB monitor. Commands end with ; or \g.
Your MariaDB connection id is 2551
Server version: 10.1.23-MariaDB-9+deb9u1 Raspbian 9.0Copyright (c) 2000, 2017, Oracle, MariaDB Corporation Ab and others.
Type ‘help;’ or ‘\h’ for help. Type ‘\c’ to clear the current input statement.
MySQLのデーターベースに接続する。
MariaDB [(none)]> use mysql;
Reading table information for completion of table and column names
You can turn off this feature to get a quicker startup with -A
Database changed
MariaDB [mysql]> select user,password,plugin from user;
+——+——————————————————————————-+————-+
| user | password | plugin |
+——+——————————————————————————-+————-+
| root | *000000000000000xxxxxxxxxxxxxxxxxxxxxxxxx | unix_socket |
+——+——————————————————————————-+————-+
1 row in set (0.01 sec)
rootユーザに対するunix_socketプラグインが設置されている。
これを無効化することによってMySQLからrootでログイン出来る様になる。
MariaDB [mysql]> update user set plugin=” where user=’root’;
Query OK, 1 row affected (0.00 sec)
Rows matched: 1 Changed: 1 Warnings: 0
もう一度確認してみる
MariaDB [mysql]> select user,password,plugin from user;
+——+——————————————————————————-+————-+
| user | password | plugin |
+——+——————————————————————————-+————-+
| root | *000000000000000xxxxxxxxxxxxxxxxxxxxxxxxx | |
+——+——————————————————————————-+————-+
1 row in set (0.01 sec)
pluginの欄が空になればOKなので
更新内容を新しく反映させる。
MariaDB [mysql]> flush privileges;
Query OK, 0 rows affected (0.00 sec)
quit またはexitでMariadbから抜ける。
MySQLとしてrootでログイン。
$ mysql -u root -p
設定したパスワードでログインできればOK
MySQLの文字コード設定について
色々なサイトがutf8に設定を変えているようだが
MySQL の utf8 は4バイト文字をうまく扱うことができないらしい。
インストール直後はdefaultで utf8mb4なのでそのまま使いましょう。
ですから、これについては何もせず終了。
